How to Split Screen on Windows 11: Snap Layouts + Shortcuts

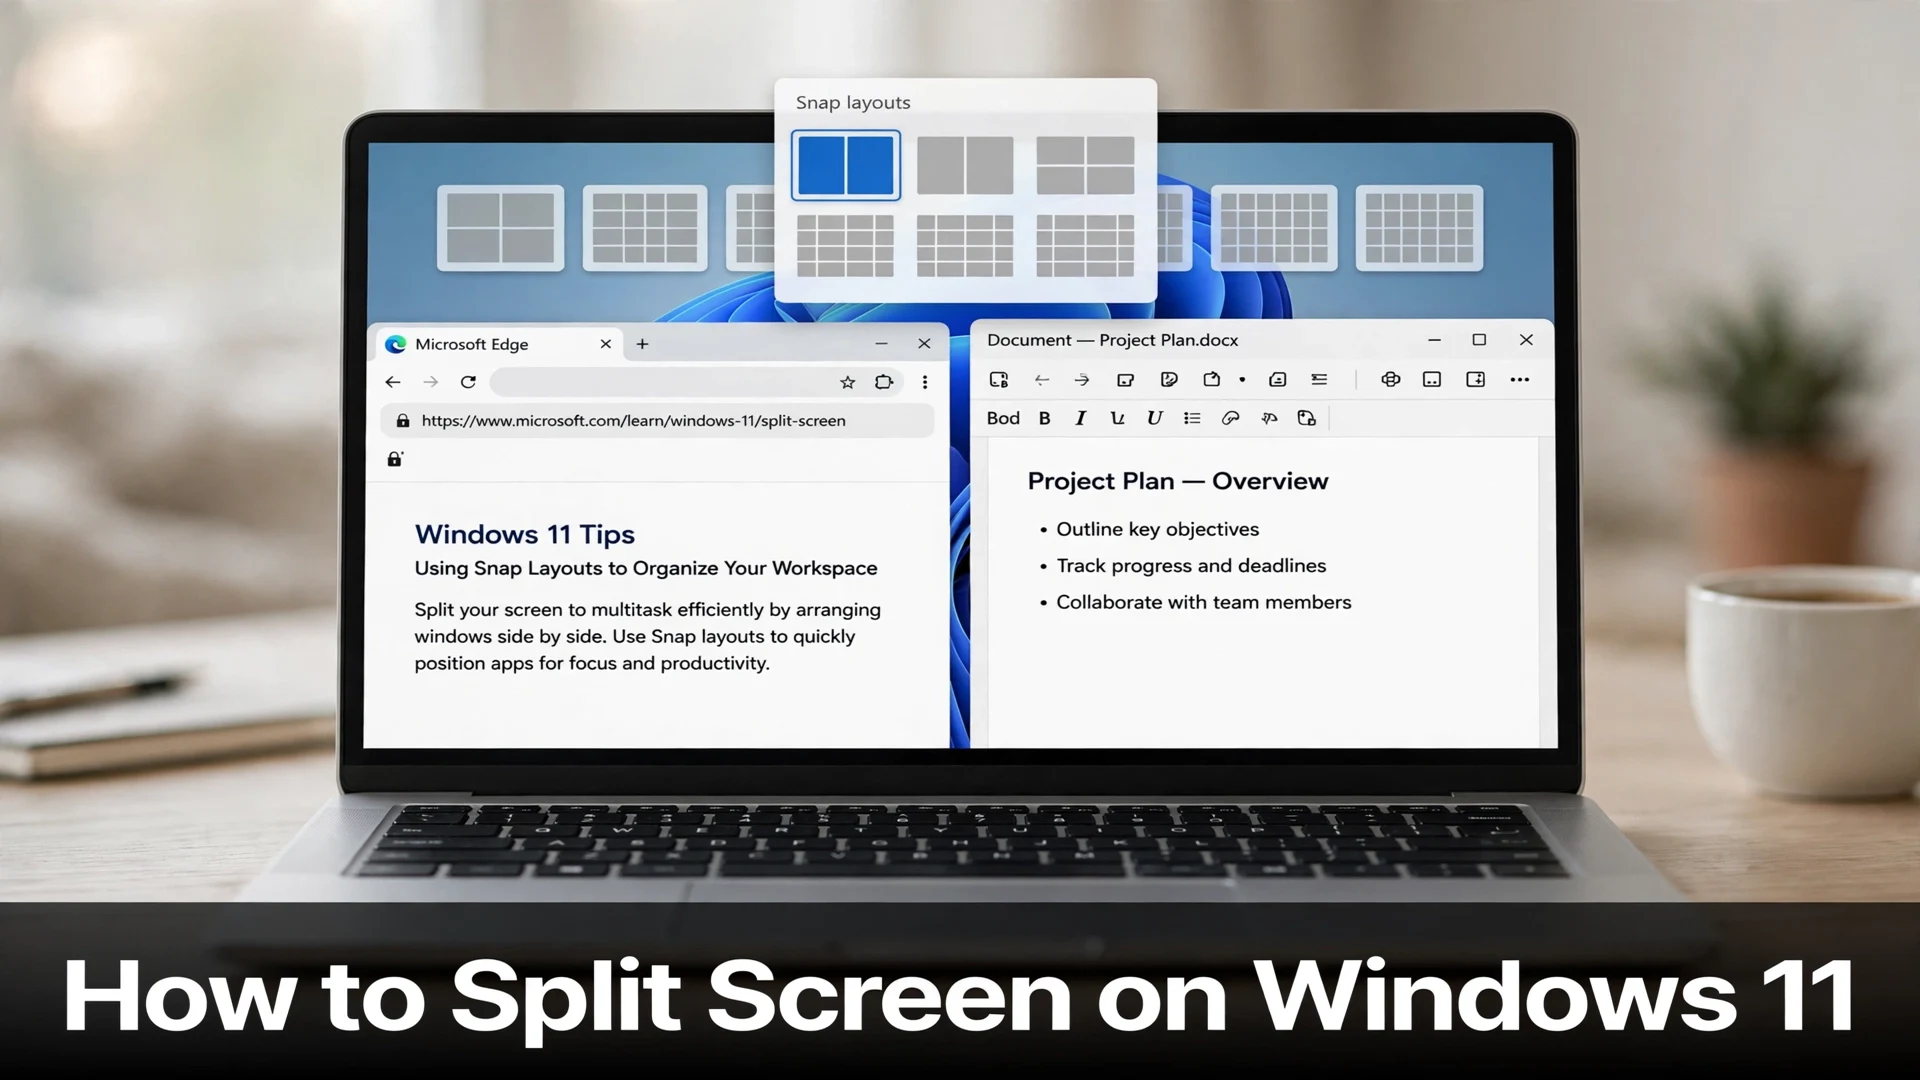
Quick answer: The fastest way to split screen on Windows 11 is to press Win + Z to open Snap Layouts, pick a layout zone, then click a thumbnail to fill the other side. Or press Win + Left arrow to snap the active window to the left half and pick a second window from Snap Assist. Both work on any Windows 11 PC with Snap turned on — no extra software needed.
Split screen is the single most useful Windows 11 feature most people never use properly. I tested every snapping method on Windows 11 24H2 in October 2026 — keyboard shortcuts, drag-to-snap, Snap Layouts, and the top-of-screen Snap Bar — and the differences between them matter more than most guides admit. The keyboard is fastest for a simple 50/50 split. Snap Layouts wins when you want three or four windows, or an uneven split like 70/30. Dragging is best when your hands are already on the mouse.
Here is each method, step by step, plus the fixes for the cases where Snap refuses to work.
First: Make Sure Snap Is Turned On
Every method below depends on one toggle. If Snap is off, nothing snaps — windows just drag around freely. Check it once and you never have to think about it again:
- Press Win + I to open Settings.
- Go to System > Multitasking.
- Make sure Snap windows is turned On.
- Expand the Snap windows section and keep the checkboxes ticked — in particular, the ones that show Snap Layouts when you hover over the Maximize button, show Snap Assist suggestions after snapping, and resize neighboring snapped windows together. Those three options are what make the whole feature feel automatic.
I verified this path on Windows 11 24H2 in October 2026. The layout of the Multitasking page has stayed stable across recent Windows 11 updates, so older guides that point here are still correct.
Method 1: Snap Layouts (Win + Z) — Best for 3 or 4 Windows
Snap Layouts is Windows 11’s visual picker: a small flyout of layout templates that lets you place a window into an exact zone instead of just shoving it left or right. This is the method to learn if you regularly juggle three or four apps.
- Open the apps you want to use. You need at least two open windows for a split; for a four-way layout, open all four first.
- Click the window you want to place first so it is active.
- Press Win + Z. The Snap Layouts flyout appears near the top of the screen. (You can also hover your mouse over the Maximize button in the top-right corner of the window — same flyout, no keyboard needed.)
- Click the zone where you want the active window to go — for example, the left half of the two-column layout, or the tall left column of the three-pane layout.
- Windows moves the window into that zone. Snap Assist then shows thumbnails of your other open windows in the remaining zone(s).
- Click a thumbnail to fill the next zone. Repeat until the layout is full.
What I found in testing: the layouts on offer depend on your screen size and resolution. On a standard 1080p laptop display you will typically see up to four-zone layouts; on a wider or ultrawide monitor, Windows offers extra three-column layouts. If you only see two-zone options, that is normal for a smaller display — it is not a bug.
Mouse-only alternative: drag a window by its title bar to the very top center of the screen and hold it there. The Snap Bar drops down with the same layout choices. Release the window over the zone you want. This is the same feature, just triggered by dragging instead of Win + Z.
Method 2: Keyboard Shortcuts — Fastest for a 50/50 Split
If your hands are on the keyboard, this is the fastest method. No menus, no aiming.
- Click the window you want on one side (or Alt + Tab to it) so it is active.
- Press Win + Left arrow to snap it to the left half, or Win + Right arrow for the right half.
- Snap Assist shows thumbnails of your other open windows in the empty half. Click one — or arrow to it and press Enter — to fill it.
For more than two windows, keep going with the arrow keys:
- Four windows (quarters): after snapping a window to a side with Win + Left/Right, press Win + Up arrow to move it into the top corner quarter, or Win + Down arrow for the bottom corner quarter. Then snap the remaining windows the same way.
- Full screen: press Win + Up arrow on an unsnapped window to maximize it.
- Restore / minimize: press Win + Down arrow to restore a maximized window, and again to minimize it.
- Undo a snap: press Win + Left/Right in the opposite direction, or press Win + Down arrow on a half-snapped window to restore it to its previous size.
What I found in testing: keyboard snaps are pixel-accurate, which matters when you are comparing two documents or lining up a spreadsheet next to a browser. The mouse methods sometimes leave a one-pixel gap or a slightly uneven split; the keyboard never does.
Method 3: Drag to the Edge or Corner — Best for Mouse Users
This is the classic Windows snapping behavior, and it still works in Windows 11:
- Click and hold the window’s title bar (not an edge — edges resize, title bars move).
- Drag it to the left or right edge of the screen until you see a translucent outline covering that half.
- Release. The window fills that half.
- Pick a window from the Snap Assist thumbnails to fill the other half.
For quarters, drag the title bar into a corner instead of an edge. Release when the outline covers that quarter, then fill the remaining quarters the same way.
What I found in testing: the outline preview is the tell that the snap registered. If you release before the outline appears, the window just floats where you dropped it. Drag slowly to the edge and wait half a second for the preview — fast flicks often miss.
Method 4: Resize, Rearrange, and Unsnap
Getting windows into place is only half the job. Here is how to manage the layout once it exists:
- Resize the split: hover over the divider line between two snapped windows until the cursor turns into a double-headed arrow, then drag. With the “resize neighboring windows together” option on, both sides adjust at once. A 50/50 split becomes 70/30 in one drag.
- Swap two windows: drag one snapped window’s title bar onto the other snapped window. They swap places.
- Unsnap one window: drag its title bar away from its zone, or press Win + Down arrow on it. The other windows stay snapped.
- Unsnap everything: maximize one window, or press Win + Up arrow on a snapped window to take it full screen.
- Return to a group: snapped windows form a Snap Group. Hover over any one of the group’s icons on the taskbar and Windows offers to reopen the whole group together, not just the single window. This is genuinely useful when you alt-tab away to check something and want the full layout back in one click.
Which Method Should You Use?
| Method | How to trigger it | Best for | Windows supported |
|---|---|---|---|
| Snap Layouts | Win + Z, hover over Maximize, or drag to top of screen | 3–4 windows, uneven splits (70/30), ultrawide monitors | Windows 11 only |
| Keyboard shortcuts | Win + Left/Right, then Win + Up/Down for quarters | Fastest 50/50 split, precise positioning | Windows 10 and 11 |
| Drag to edge/corner | Drag title bar to screen edge or corner | Mouse-first workflows, quick two-window splits | Windows 10 and 11 |
| Snap Assist | Automatic after any snap | Filling the remaining zones without alt-tabbing | Windows 10 and 11 |
| Snap Groups | Hover a grouped window’s taskbar icon | Restoring a whole multi-window layout at once | Windows 11 only |
Split Screen Not Working? 5 Fixes That Actually Work
I reproduced the common failure modes while testing. Work through these in order:
- Snap is off. Go to Settings > System > Multitasking and turn Snap windows on. This is the cause in most cases, especially on fresh installs and managed work PCs.
- The Snap Layouts flyout does not appear. First, make sure the window is not already maximized — the flyout appears when you hover the Maximize/Restore button of a restored window. Second, check the “show Snap Layouts when I hover over a window’s Maximize button” checkbox under Settings > System > Multitasking > Snap windows. Third, some apps with custom title bars or very old Win32 apps do not show the flyout at all; for those, use Win + Z or the keyboard shortcuts, which still work.
- Snap Assist thumbnails do not appear. Check the “when I snap a window, show what I can snap next to it” option in the same Multitasking page. If it is off, the first window still snaps — you just have to fill the other half manually.
- The window will not snap at all. Try the keyboard shortcut (Win + Left arrow) to rule out a mouse/drag problem. If the keyboard works but dragging does not, update your graphics and touchpad drivers and check Windows Update. If neither works, restart Windows Explorer from Task Manager (right-click Windows Explorer > Restart) — a stuck Explorer process can silently break snapping.
- Layouts look wrong on a second monitor. Snap works per-monitor, and the available layouts depend on each display’s resolution. A 1080p secondary monitor offers fewer layouts than a 1440p or ultrawide primary. Drag the window to the monitor you want it on first, then snap it there. If you undock a laptop, Windows 11 remembers your Snap Groups and restores them when you reconnect the display.
Three Split-Screen Setups Worth Stealing
Once the mechanics are second nature, the setup is what matters. Three combinations I use constantly:
- Research and writing: browser on the left (around 60%), document on the right (around 40%). Resize the divider so the document gets exactly the width it needs and the browser keeps the rest. If you capture long pages while researching, our guide to taking a scrolling screenshot on Windows 11 pairs naturally with this layout.
- Meetings and notes: video call in a top corner quarter, notes app in the other top quarter, reference material across the bottom half. Use Win + Z and pick the layout with two small panes on top and one wide pane below.
- Tutorials and recording: the app you are demonstrating on the left, your script or checklist on the right. If you record the session, see our tested picks for the best free screen recorder for Windows — a snapped layout keeps both halves readable in the recording instead of a cramped full-screen capture.
One more habit that pays off: keep Snap Groups in mind when you switch tasks. Instead of minimizing four windows one by one, click away to the new app; when you are done, hover the old group’s taskbar icon and bring the whole layout back in one click. It is the closest Windows 11 gets to workspaces without using virtual desktops.
Microsoft documents the Snap Layouts feature in its Windows Snap Layouts guide, which confirms the Win + Z shortcut, the drag-to-top gesture, and Snap Assist behavior described above.
FAQs
Press Win + Left arrow to snap the active window to the left half, or Win + Right arrow for the right half. Then pick a second window from the Snap Assist thumbnails. For layouts, press Win + Z to open Snap Layouts and choose a zone.
Press Win + Z to open Snap Layouts and pick a three- or four-zone layout, then fill each zone from the Snap Assist thumbnails. Or snap a window to a side with Win + Left/Right, then press Win + Up or Down arrow to move it into a corner quarter and repeat for the other windows.
First check Settings > System > Multitasking and make sure Snap windows is on and the ‘show Snap Layouts when I hover over a window’s Maximize button’ option is ticked. Also note the flyout does not appear on already-maximized windows, and some apps with custom title bars never show it — use Win + Z or Win + arrow keys for those.
Drag the window’s title bar away from its snapped zone, or select it and press Win + Down arrow to restore it to its previous size. The other snapped windows stay in place. To clear the whole layout, maximize one window.
Yes. After snapping two windows, hover over the divider line between them until the cursor becomes a double-headed arrow, then drag to resize — for example, 70/30 instead of 50/50. Snap Layouts also offers ready-made uneven layouts, like a tall column beside two stacked panes.
Yes, Snap works per monitor. Drag the window to the monitor you want it on first, then snap it there. The layouts on offer depend on each display’s resolution, so a 1080p secondary monitor shows fewer options than a 1440p or ultrawide primary. Windows 11 also remembers Snap Groups when you undock and reconnect a display.
Final Thought
Split screen on Windows 11 is not one feature — it is four methods sharing one engine. Learn Win + Z for layouts, Win + arrow keys for speed, and drag-to-edge for everything else, and you will stop manually resizing windows entirely. Start with a simple 50/50 split today, then try a three-pane layout on your next real task. The first time a Snap Group restores your whole workspace with one hover, you will wonder how you worked without it.