How to Use NotebookLM for Studying

Quick answer: NotebookLM is Google’s free AI study tool that lets you upload your own course materials — PDFs, slides, YouTube lectures, even voice notes — and then chat with them, get citation-backed answers, and generate study guides, flashcards, quizzes, audio overviews, and mind maps. Upload one notebook per exam or subject, ask it questions with citations, then use the Studio panel to turn your sources into practice quizzes and a summary review sheet.
Studying with a pile of lecture slides, textbook chapters, and scattered notes is exhausting. ChatGPT can quiz you, but it makes things up when it doesn’t know. NotebookLM fixes that exact problem: it only answers from the sources you upload, and every answer comes with citations you can click to verify. As of 2026 it has grown from a simple research notebook into a full study studio — audio overviews, video summaries, flashcards, quizzes, mind maps, and slide decks, all built from your own materials.
This guide walks you through the whole setup step by step: creating your first notebook, uploading sources, chatting with citations, and turning your materials into exam-ready study tools. Everything here is hands-on — I tested each feature so you know what actually works for studying.
What Is NotebookLM (and Why the Name Changed)
NotebookLM is Google’s AI-powered research and note-taking tool. The core idea is simple: you feed it your sources, and it becomes an expert on those documents instead of the whole internet. That makes it far more trustworthy than a general chatbot for studying, because it can’t hallucinate a textbook chapter it never read.
One thing to know: Google renamed NotebookLM to “Gemini Notebook” in July 2026 to bring it under the Gemini brand. It’s the same tool with the same features — old notebooklm.google.com links redirect automatically. Most students still call it NotebookLM, and so will this guide.
As of October 2026 it also has iOS and Android apps, so you can review an audio summary on your commute or chat with your notebook from your phone. If you’re comparing study assistants, our NotebookLM vs ChatGPT comparison breaks down when to use which.
Step 1: Set Up Your First Notebook
- Sign in at notebooklm.google.com with your Google account. The free plan is genuinely enough for most students — more on limits below.
- Create a new notebook and name it after your exam or subject (e.g., “Biology Midterm — Chapter 5–8”). One notebook per subject keeps your sources clean.
- Upload your sources. Click “Add source” and choose from: PDF textbooks and papers, Google Docs, Google Slides, plain text, pasted text, web URLs, YouTube video links (it reads the transcript), audio files, and EPUBs. You can even record a lecture on the mobile app — it transcribes automatically and files it alongside your other sources.
The free plan allows up to 50 sources per notebook and 100 notebooks total, with each source capped at around 500,000 words — far more than a typical textbook chapter. Most students never come close to these limits.
Source upload tips that actually matter
- Upload the syllabus first. It tells NotebookLM what the exam covers, and its summaries will weight topics accordingly.
- Add lecture slides and your notes. Slides show what the professor emphasized; your notes capture what confused you.
- Paste YouTube lecture links instead of watching them again. NotebookLM pulls the transcript, so you can ask “summarize what the lecturer said about mitosis at the 20-minute mark” instead of rewatching.
- Skip duplicate sources. Overlapping textbooks on the same chapter add noise, not insight. Curate 5–15 strong sources per notebook.
Step 2: Chat With Your Sources (With Citations)
Once your sources are in, you get a chat box that works like a tutor who has read everything you uploaded. Ask questions like:
- “Explain the difference between mitosis and meiosis in plain English, using only my chapter 5 notes.”
- “List every key term from the lecture slides about photosynthesis, with a one-line definition each.”
- “What did the professor say causes the greenhouse effect? Quote the exact slide.”
Every answer includes inline citations — click one and it jumps to the exact passage in your source. This is the feature that separates NotebookLM from generic AI chatbots: when it says something, it shows you exactly where it came from. If it can’t find the answer in your sources, it tells you so instead of guessing.
Pro tip: the quality of your answers depends on the quality of your questions. Be specific and reference the source by name — our guide on how to write better AI prompts applies directly here.
Step 3: Turn Sources Into Study Materials With the Studio Panel
This is where NotebookLM becomes a study machine. The Studio panel generates polished materials from your uploaded sources with one click:
Audio Overviews — your lectures as a podcast
Audio Overviews turn your documents into a podcast-style conversation between two AI hosts discussing your material. Listen on your commute or at the gym, and use the interactive mode to interrupt and ask questions mid-episode. On the free plan you get a few audio generations per day, which is plenty for exam prep.
Study Guides and Briefing Docs
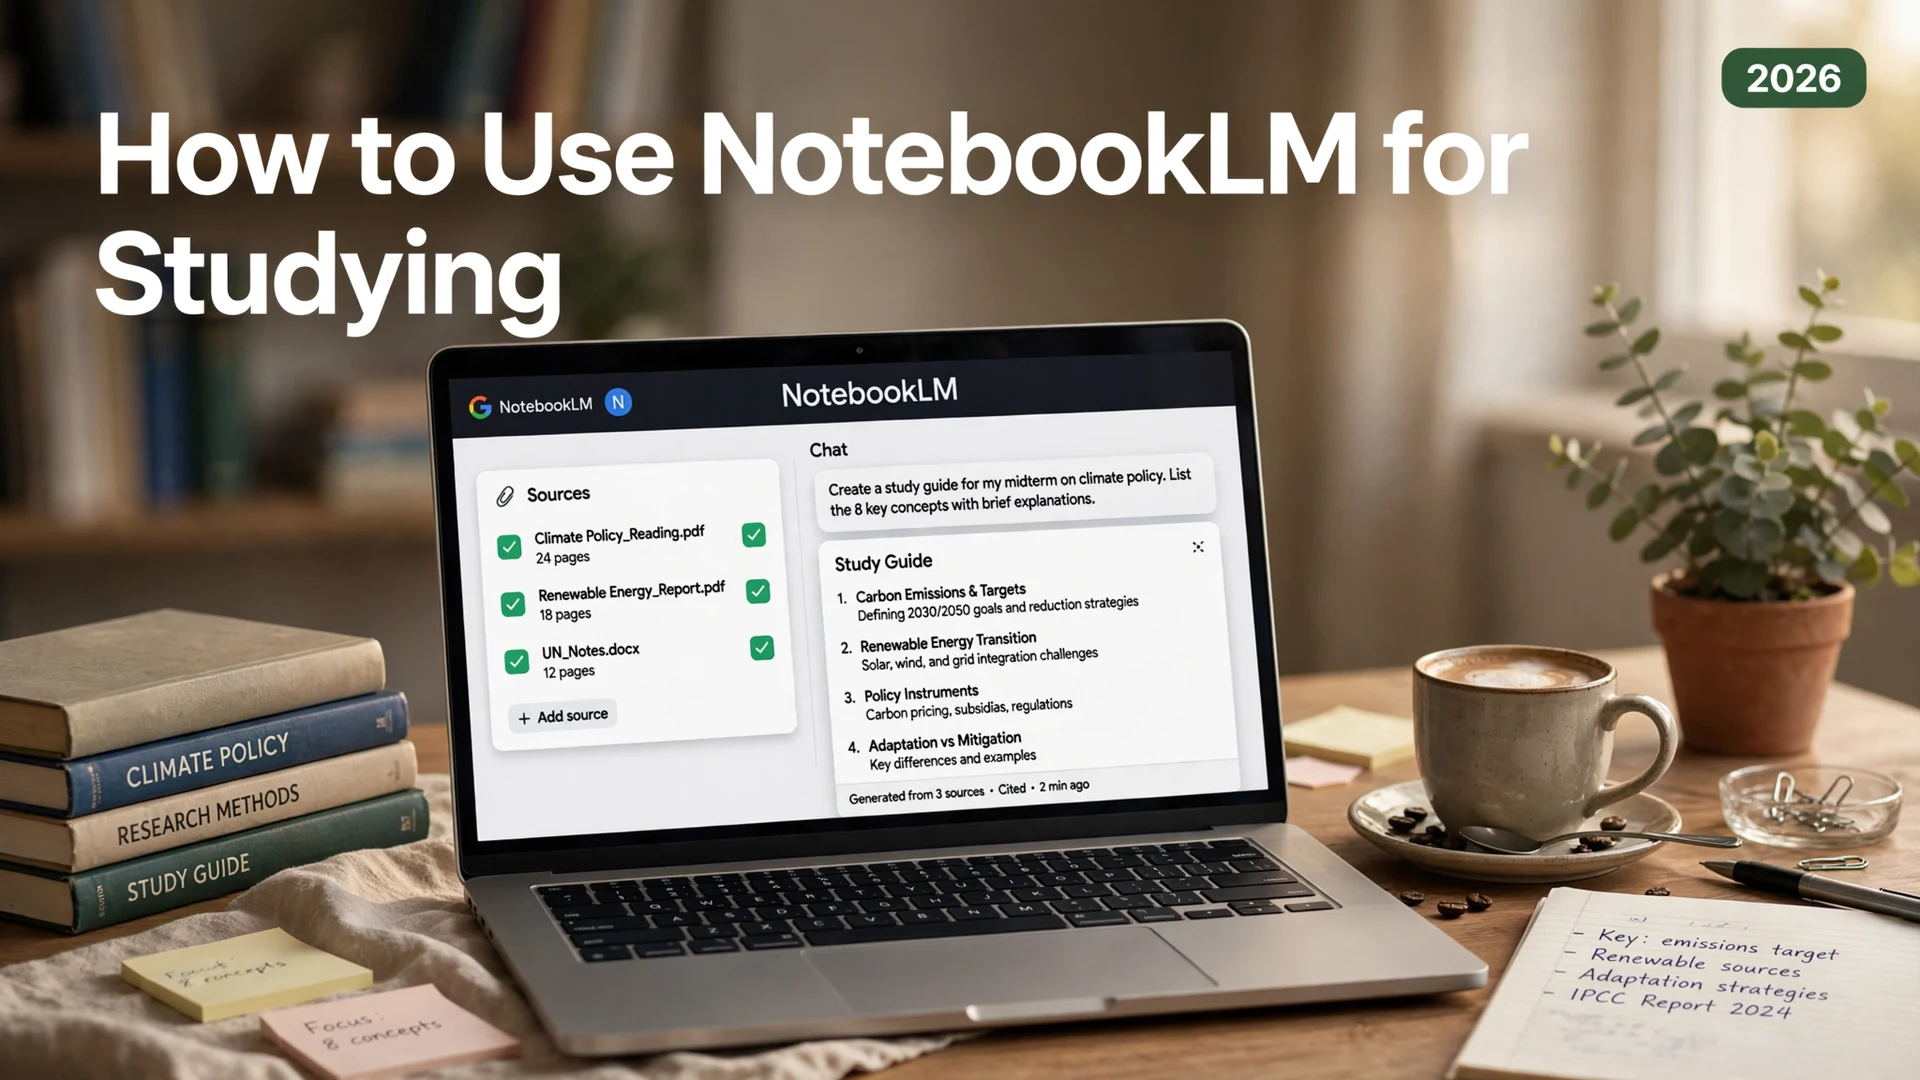
One click generates a structured study guide — key concepts, definitions, and timelines drawn from your sources. Since the 2026 updates, these can include quiz questions with answer keys, so a study guide doubles as a practice test.
Flashcards and Quizzes
NotebookLM auto-generates flashcards and practice quizzes from your sources. The quiz formats now include multiple choice, short answer, and fill-in-the-blank. Generate a quiz after each study session and re-take it the next day — that’s active recall, the most evidence-backed study technique there is.
Mind Maps
For visual learners: mind maps generate an interactive diagram of how concepts in your sources connect. Click a node to expand sub-topics. It’s genuinely useful for seeing the structure of a chapter before you start memorizing details.
Video Overviews
Video Overviews create AI-narrated visual summaries of your sources. New Short Video Overviews (60 seconds, in 80+ languages) break down a single tricky formula or concept quickly — perfect for a last-minute review the morning of an exam.
Slide Decks and Data Tables
Need to present? Slide Decks generate a visual presentation from your sources, exportable as PPTX. Data Tables pull structured comparisons out of unstructured sources — great for subjects that involve comparing theories or events.
Step 4: Know the Free Plan vs Paid Plans
The free plan is surprisingly generous for students. Here’s how the tiers compare as of October 2026:
| Feature | Free | Google AI Plus (~$5/mo) | Google AI Pro (~$20/mo) |
|---|---|---|---|
| Notebooks | 100 | 200 | 500 |
| Sources per notebook | 50 | 100 | 300 |
| Chats per day | 50 | 200 | 500 |
| Audio/Video Overviews per day | 3 | 6 | 20 |
| Flashcards, quizzes, mind maps per day | 10 each | 20 each | 100 each |
| Deep Research | 10/month | 3/day | 20/day |
My honest take for students: the free tier covers a full semester of normal use. Only consider upgrading if you’re running many subjects at once, generating lots of audio overviews daily, or want the longer Deep Research reports for term papers. Paid access is bundled into Google AI subscriptions (Plus, Pro, Ultra), not sold as a standalone NotebookLM plan.
A Complete Exam-Prep Workflow (Copy This)
Here’s a battle-tested 5-step workflow you can reuse for every exam:
- Collect (day 1): Upload the syllabus, lecture slides, textbook chapters, your class notes, and any recorded lectures as audio or YouTube links. Aim for one notebook per exam.
- Orient (day 2): Generate a Mind Map and an Audio Overview. Listen to the audio on a walk while glancing at the mind map — you’ll absorb the chapter’s structure passively.
- Learn (days 3–5): Chat with your sources topic by topic. Ask for plain-English explanations of the hard parts and generate a Study Guide for each major section.
- Test (day 6): Generate a Quiz and Flashcards. Take the quiz closed-book, then ask NotebookLM to explain every answer you got wrong, with citations.
- Review (day before): Generate a Short Video Overview or a final Study Guide. Skim it once. Sleep well — you’re ready.
Tips and Limitations Worth Knowing
Tips
- Name notebooks clearly (“Chem 101 Final”) — there’s no folder system, so good naming is your organization.
- Use Deep Research for term papers. It searches the web alongside your uploads and synthesizes a cited report — great for the research phase.
- Share notebooks with study groups. NotebookLM supports sharing, so your group can study from the same source set.
- Check citations on critical facts. Citation-backed answers are trustworthy, but Studio outputs (summaries, quizzes) are AI-synthesized — don’t treat them as citable academic sources.
Limitations
- It only knows what you upload. It won’t fill gaps from the web unless you use Deep Research.
- Mind maps aren’t exportable. They’re view-only inside the tool.
- No cross-notebook search. Each notebook is an isolated container, so split subjects deliberately.
- Academic integrity still matters. Use it to learn and practice, not to generate work you submit as your own. Many schools now treat NotebookLM like a calculator: fine for studying, and check your course policy for assignments.
For more AI tools that fit student life, see our roundup of the best free AI tools.
FAQs
Yes — the free plan is genuinely enough for most students. You get 100 notebooks, 50 sources per notebook, 50 chats a day, several audio and video overviews per day, and 10 flashcards, quizzes, or mind maps per day. Paid tiers (bundled into Google AI Plus, Pro, and Ultra subscriptions) mostly add capacity: more sources, more notebooks, and higher daily limits.
Google renamed NotebookLM to Gemini Notebook in July 2026 to unify it under the Gemini brand. It is the same tool with the same features, plans, and limits — old notebooklm.google.com links redirect automatically to notebook.google.com. Most people still call it NotebookLM.
Upload PDFs, Google Docs, Google Slides, plain text, pasted text, web URLs, YouTube video links (it reads the transcript), audio files, and EPUBs. On the free plan each source can hold up to about 500,000 words. On the mobile app you can also record lectures directly and they get transcribed alongside your other sources.
Yes — but verify critical facts. Chat answers include inline citations that jump to the exact passage in your sources, which makes it far more reliable than a general chatbot. One caveat: Studio outputs like summaries and audio overviews are AI-synthesized, so treat them as study aids, not citable academic references.
Use one notebook per subject or exam, name it clearly (e.g. “Biology Midterm — Ch. 5–8”), and curate 5–15 strong sources: the syllabus, lecture slides, textbook chapters, your own notes, and recorded lectures. Avoid uploading duplicate sources on the same topic — they add noise rather than insight.
The paid tiers are bundled into Google AI subscriptions: Google AI Plus (around $5/month) raises you to 100 sources per notebook and 200 notebooks, while Google AI Pro (around $20/month) goes to 300 sources per notebook and 500 notebooks. For most students the free tier is plenty — upgrade only if you hit the daily limits or manage many subjects at once.
Final Thought
NotebookLM won’t study for you — but it removes the two worst parts of studying: hunting through scattered sources and wondering whether an AI answer is made up. Upload your materials, let it build quizzes and summaries from them, and spend your energy on actually learning. For students, the free plan alone makes it one of the highest-value AI tools you can use in 2026.